The Pickling
Season
Of course, as summer progresses so do the pickling
opportunities on our allotments. I find, on my allotment, that little in the
way of maintenance – weeding, strimming, composting, tidying, etc is being done
[although I do find time to water my poly-tunnel]. I go to my plot early to
harvest then, take the crops home to process for winter supplies – jams,
jellies, pickles, chutneys, frozen foods.
This has been a bumper year, so far. Especially for
soft fruits, peas, broad beans, carrots, beetroot and early potatoes. French
and runner beans are looking good for a heavy crop although I see there is a
plague of blackfly on my runner beans. I won’t spray them. I have two teepees
of them and think I will have more than I can use although I hate to see the
destruction the blackfly cause, I am reluctant to use chemicals where I don’t
need to.
I have just finished harvesting my pea plot – Hurst
Green Shaft – wonderful variety and have the advantage of all maturing at
more-or-less the same time. I have taken 4 buckets full from my four ridges
from 4 packets of peas. Although it is time-consuming to pod them it is well
worth the effort [I don’t blanche them. I just put them into suitable tubs or
sealable bags and freeze them]. In previous years this harvest has provided me
with peas over the whole winter and spring seasons
From July onwards our crops will mature and will
demand that we do something with them. I can’t use all the crops that I produce
but my family takes a lot of my produce and are starting now to put in their
orders of what they would like. When I still have stuff over and above my needs
I put it out on my garden wall inviting neighbours and passersby to help
themselves – the stuff always goes.
Last autumn I was somewhat amused when I decided to
‘share’ my very bountiful pumpkin harvest. I don’t

grow gigantic pumpkins or
even those suitable for Hallowe’en lanterns. I grow them to eat. However, I
thought that many people might not be aware of the possible culinary uses for
them and I prepared a recipe sheet of which I printed off several copies and
put, in a plastic wallet, on my garden wall along with the pumpkins. An hour
later, the recipe sheets had gone but the pumpkins hadn’t ! It took another few
hours for all the pumpkins to go ! Whatever!
Apart from all the jams and jellies I have been
making – do try the chilli jellies [if you like hot, spicy condiments], I also
now have silver skin onions, beetroot, beans, cucumbers/gherkins and coming
soon I will have tomatoes.
I do use my own chillies as far as possible[Joes
Long] although I will buy in some very hot chillies – Scots Bonnet and Birds
Eye to pep up my jellies [these chillies are VERY hot so, if you are not so
keen on very hot, use another variety of chilli].
Sweet
Pickled Beetroot
Allow
approx. 6 – 8 medium beetroots [don’t allow them to become too big as they will
become quite woody]
Approx.
1 litre vinegar –malt vinegar is fine though, of course, if you want a more
refined and expensive pickle use a wine
vinegar
 Pickling
spices – a tsp of whole cloves, a stick of cinnamon bark, a dsp.mixed pepper
seed – green, black, red, a tsp whole allspice, 2 – 3 dried red chillies[fresh
if available]]
Pickling
spices – a tsp of whole cloves, a stick of cinnamon bark, a dsp.mixed pepper
seed – green, black, red, a tsp whole allspice, 2 – 3 dried red chillies[fresh
if available]]
90 gm
[3oz ] granulated sugar
Method
·
Wash
beetroots without breaking the roots or tops as the roots will bleed in the
cooking process.
·
Steam
or boil until the roots are soft – use a stainless steel knife to check – it
will take an hour plus, depending on the size or age of the roots. If you use a
steamer it will take much less time but do keep an eye on the time.
·
Prepare
the vinegar – white vinegar is good but, not necessary as it is more expensive
and can be harder to get hold of. Malt vinegar is fine – I use the cheapest I
can get hold of. In a large saucepan add the spices and sugar. Bring to the
boil then simmer for a few minutes to allow the spices to infuse
·
When
the beetroot is cooked – check with a stainless steel knife or a skewer, take
off the heat, drain and cover with cold
water.
·
When
the roots are cool, peel them [the skins should shuck off easily], and cut into
largish cubes.
·
Pack
into sterilised jars and cover with the spiced vinegar – using a skewer, make
sure all the air bubbles are released.
·
Cover
and store appropriately.
·
Pickled
beetroot does not store as well as many other vegetables so do try to use
within two to three months.
Pickling onions and shallots
I’ve
used this general method for pickling shallots, gherkins/small cucumbers,
cauliflower florets, silver-skinned onions or a mixture of these to give mixed
pickle. Don’t use vegetables which are stale or have blemishes.
When
peeling onions and shallots it is really advisable to wear rubber gloves (onion
skins are an excellent dye for wool, etc and will also dye your hands – the
stain lasts for days!) Do use stainless steel knives for peeling and cutting as
carbon steel knives will leave black marks on the vegetables.
When I
have prepared the vegetables I usually soak them in brine (salt and water) – 4 pints – 4oz salt (2 litres – 100gm approx).
You will need enough brine to completely cover the vegetables. Leave them to
soak for 24 hours in a non-metal container. Drain and rinse well or your
pickles may be too salty.
Prepare pickling vinegar:-
It is
usually suggested that white vinegar is used for pickling as it gives a much
fresher colour. However, as I do a lot of pickling and malt vinegar is so much
cheaper that is what I usually use – it makes no difference to the flavour.
Buying already prepared pickling vinegar is expensive and does not allow you to
introduce the herbs and spices you might prefer. However, it is already
prepared and easy to use.
I will
usually prepare a litre (2 pints) at a time and use as needed. To the vinegar I
will add whole peppercorns, whole allspice, whole green and red peppercorns -
when I can get them, a small piece of cinnamon bark, a few red chillies (you
can use dried ones if fresh ones are not ready), fennel seed, yellow mustard
seed. You can, of course use as much spice as will suit your taste and I like
my pickles to be quite spicy and hot but, a tablespoonful of spices is a
reasonable amount for this quantity of vinegar.
Do
experiment with the spices and add Indian, West Indian or Oriental if that is
your preference.
Bring
the vinegar and spices to the boil and simmer gently for 5 – 10 minutes to
develop the flavours. You can add a couple of teaspoons of sugar if you like
your pickles to be less sharp.
Allow
the vinegar to cool.
When
the vegetable have been well drained, pack them into suitable jars for
preserving – lidded jampots, Kilner jars or similar. Pour the cold spiced
vinegar over the vegetables until well covered. Seal and label.
Allow
your pickles to mature for a few weeks (4 – 5 or so), before eating. Enjoy!
Piccalilli – the
Queen of pickles
If you
like pickles this is definitely the most popular one – and how excellent for
using the glut of different vegetables in summer/autumn. You will need a good selection but, use what
you have on the allotment, try to avoid going to the shops for what you feel
might be missing.( tender young runner beans and French beans, young marrow or
courgettes, green tomatoes ( though I haven’t tried these in piccalilli), small
cucumber, cauliflower, small onions or shallots( if the shallots are too large
you will need to cut then in ½s or ¼s).
This recipe might seem like a lot
of effort, but it is so worth the trouble
You
will need a brine (salt and water)solution – allow 50g(2oz) for each 600ml(1
pint) water. Ensure the salt is completely dissolved. You will need sufficient
brine to cover the vegetables in a basin.
Increase
or decrease the following ingredients in proportion according to what you have
available:
900g (2
lb) mixed vegetables - small onions,
cauliflower, beans [ French or runner] , marrows or courgettes, peppers and
even cabbage [red would be good] .
Brine –
enough to cover the vegetables
Spiced vinegar:
- for this
quantity allow approx 600ml or 1 pt spiced vinegar
Use
preferably white vinegar. Ordinary brown vinegar, although fine for flavour and
cheaper, will affect the colour of your pickle. Simmer the vinegar with a
selection of spices of your choice ( eg. mixed pepper corns, pimento, whole coriander,
dried red chillies, a few bay leaves, mustard seeds, etc). Simmer - ( gently) the spices in the vinegar for 15
minutes or so, then strain.
Sauce: -
25g/ 1
oz plain flour 1
tblsp. Mustard powder
½ tblsp
turmeric 2
tsp. Ground ginger
Vinegar
to mix 600ml
/ 1 pint spiced vinegar ( as above)
1.
Prepare
the vegetables ( cut into small pieces,
about 1-1.5cm, ½inch size), weigh them – so you know how much sauce to prepare
and put into the prepared brine solution – leave for 24 hours.
2.
Prepare
the sauce – mix the flour, mustard powder, turmeric and mixing vinegar in a
large basin, to make a soft paste. Gradually add the strained spiced vinegar,
stirring frequently to ensure there are no lumps.
3.
Return
the sauce mix to a large saucepan or preserving pan and simmer over a low heat
until it coats the back of a wooden spoon ( reasonably thickly). Stir frequently to ensure there are
no lumps.
4.
Drain
the vegetables well, but don’t rinse in cold water.
5.
Add
the vegetable to the mustard sauce and gradually bring to the boil
6.
Boil
for about 1 -2 minutes ( avoid cooking the vegetables)
7. Pour/spoon into hot, sterilised
jars and seal.
Leave
for a few weeks before eating to allow it to mature
Hot
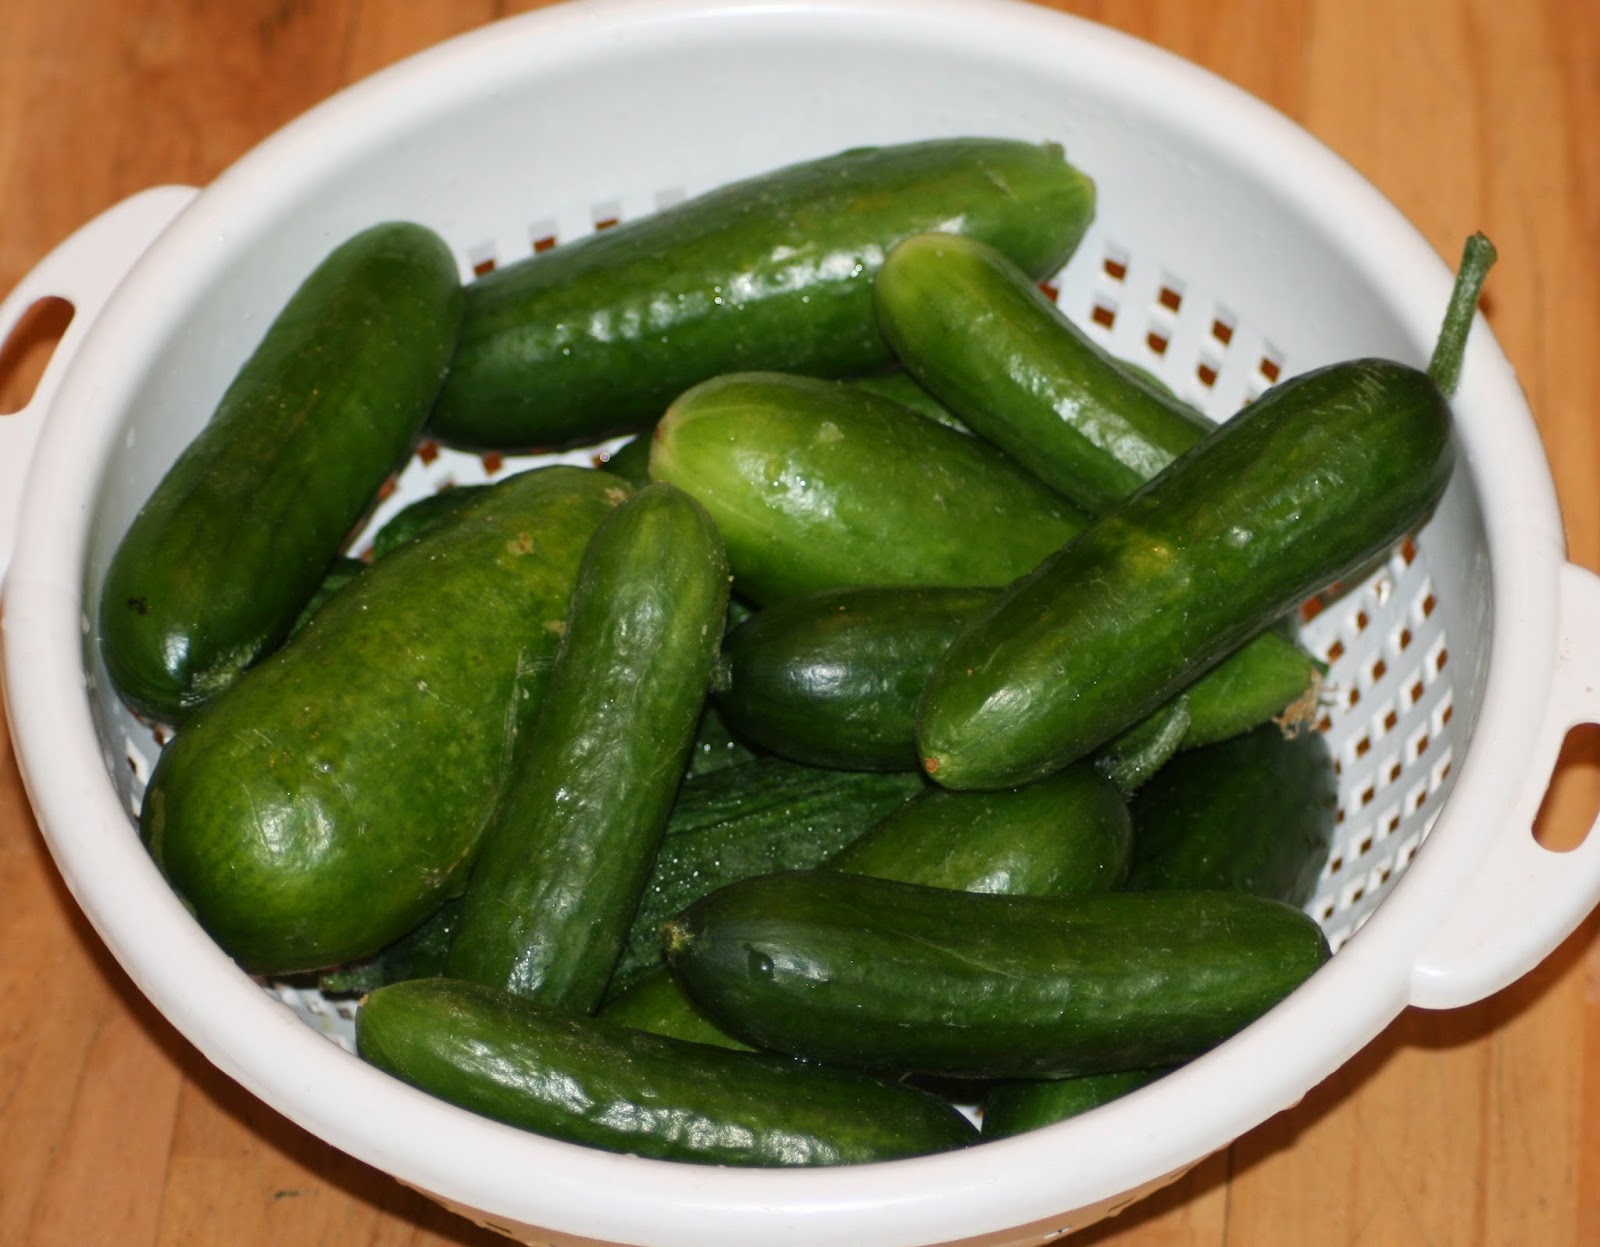
Sweet Cucumber Relish
Like so
many other vegetables in late summer, we wonder what to do with the glut. It
doesn’t take too many cucumber plants to have too many cucumbers. Try this
recipe as a way of using and preserving them.
Ingredients
1 kg
cucumbers ( 2 lb) – don’t let them get too big or they will be full of seeds
1 kg onions
( 2 lb)
1 cooking
apple
600ml
white vinegar (1 pint)
3–4 red
chillies(I have used Joe’s Long, use a medium hot chilli, but take care if for
children)
500gm
sugar ( 1 lb) – I used white sugar, but soft brown sugar will ‘warm’ the colour
of the relish
2 tsp
salt 1
tsp allspice
½ tsp
ground cloves 1
tsp turmeric
¼ tsp
mustard powder ¼
tsp ground mixed peppers( black, green, red)
Method
1.
Top
and tail the cucumbers and remove the skin – cut into small cubes - ¼ cm- ish.
If necessary, remove the seeds – if the seeds are still soft, you can leave
them in.
2.
Peel
the onions and chop finely – similar size to the cucumber.
3.
Peel
and core the cooking apple and cut into fine slices.
4.
Cut
the red chillies into small pieces – if you don’t want the relish to be too
hot, leave the seeds out, or leave some of the seeds out. For a hotter relish
add more chillies.
5.
Put
the chopped cucumbers, onions, apples and chillies into a large pan or
preserving pan with the vinegar and gently simmer until all the vegetables are
cooked through – approx. 30 mins.
6.
Prepare
the jars/ bottles – wash well and sterilise – put in a warm oven - 100ºC for
15mins.
7.
Add
the sugar and stir until dissolved.
8.
Add
the spices and salt to taste, add more salt if necessary.
9.
Simmer
gently until the relish thickens – remember, when cool it will be thicker. Stir
occasionally.
10. Pour into the hot sterilised jars
and seal immediately. Label.
Sweetcorn Relish
6
corncobs – remove the kernels
1 sweet red pepper – finely chopped
1
large onion – finely chopped 3 large garlic cloves –
finely chopped
1
– 2 fresh hot chilli peppers(keep the seeds in if you like it very hot)
500ml
(1pint)white vinegar
250g
(9oz) white sugar 1 –2 tsp
salt ( to taste)
1
dsp. yellow mustard seed 1 tsp mustard
powder
½
tsp ground black pepper ½ tsp turmeric
1
Tblsp cornflour – blended with a little water or a little extra vinegar
Method
·
Put
the sugar and vinegar into a large pan over a low heat and stir until the sugar
has dissolved.
·
Add
the onion, sweetcorn kernels, red pepper, chopped chilli and garlic and simmer
gently until the vegetables are ‘transparent’ and cooked 10 minutes or so.
 ·
Add
the mustard seed and powder, turmeric, pepper and salt and cook for 10 -15mins.
·
Add
the mustard seed and powder, turmeric, pepper and salt and cook for 10 -15mins.
·
Add
the blended cornflour and stir in well.
·
Bring
to the boil and boil for 4 – 5 minutes until the mixture starts to thicken.
·
Pot
up in hot, sterilised jars. Cover and label.
 The
weather this week has been glorious. Although foggy in the mornings, the fog
has cleared to give mild sunny days.
The
weather this week has been glorious. Although foggy in the mornings, the fog
has cleared to give mild sunny days. My
tomato plants also need to be moved to the poly-tunnel as they are becoming a
bit leggy but, I am afraid of a late frost which would kill them, even in the
protected environment. Perhaps I will pot them on and take some to the
poly-tunnel and keep some at home for a little while longer.
My
tomato plants also need to be moved to the poly-tunnel as they are becoming a
bit leggy but, I am afraid of a late frost which would kill them, even in the
protected environment. Perhaps I will pot them on and take some to the
poly-tunnel and keep some at home for a little while longer.


 My
chives, rosemary, thyme, mint, tarragon, oregano are all putting on healthy new
growth.
My
chives, rosemary, thyme, mint, tarragon, oregano are all putting on healthy new
growth.